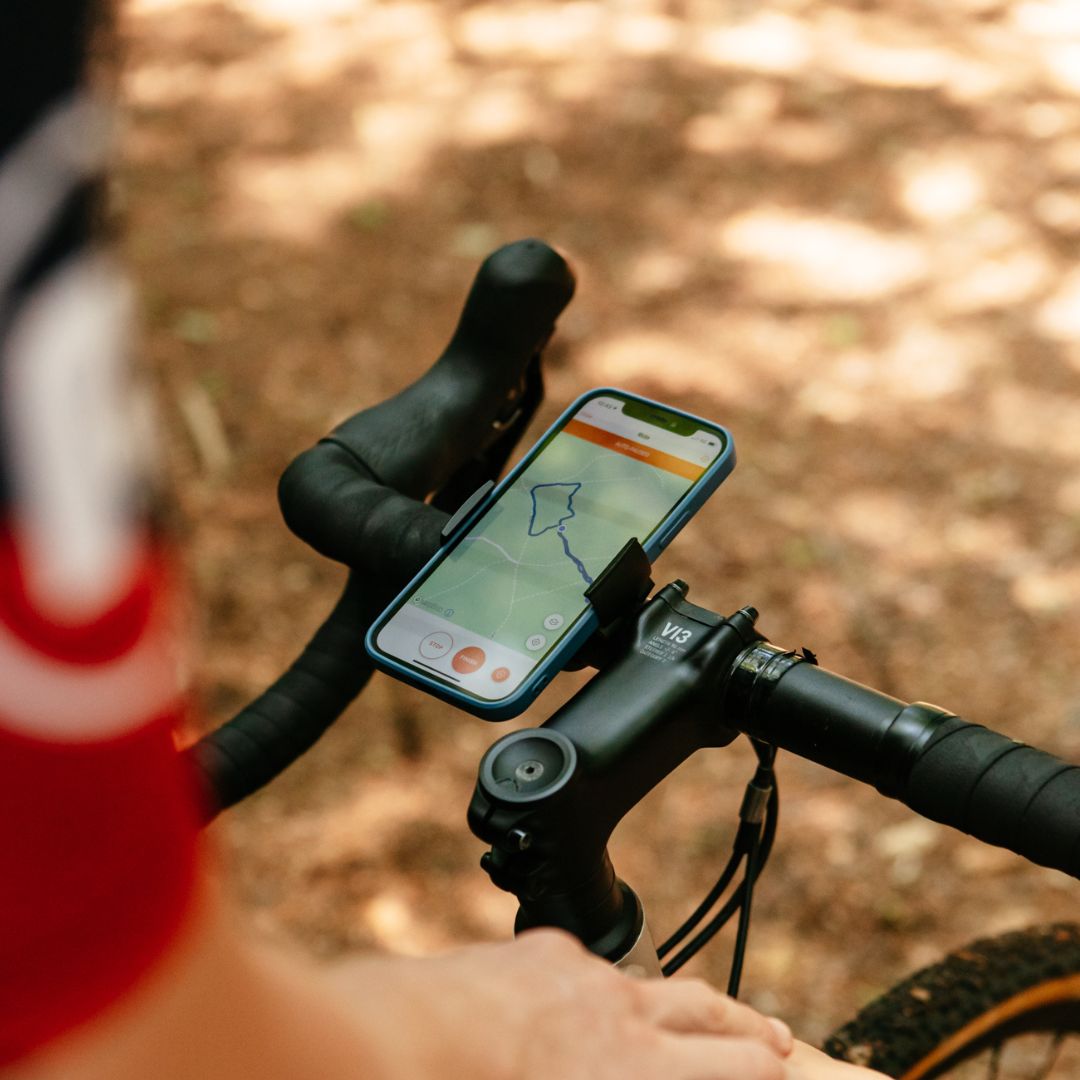
If it’s not on Strava, it didn’t happen. So says the popular internet phrase. As the app’s community has swelled to over 150 million users, so has its utility. From measuring bike rides, runs, and even a round of golf, it has taken the world of movement tracking by storm.
For cyclists, there’s one particular feature of the app that continues to hold plenty of appeal - Strava's Route Builder. Neatly housed under the ‘Maps’ tab on both the app and the web version of Strava, it enables users to create, adjust, share and follow biking routes. And because Strava’s routing system pools data from the millions of activities recorded on the app, it should, in theory, find routes that are best suited for cycling. No busy roads and no stairs - thank you!
At this point, it is well worth noting that Strava’s Route Builder isn’t available to non-paying Strava users. Strava’s annual subscription price is GBP £54.99, USD $79.99, CAD $99.99, or €74.99 (€ pricing does vary). That’s probably not a price worth paying, if you’re solely looking for a navigation app - after all, there are many other bike navigation apps, including the ever-popular Google Maps, but seeing as the app’s main aim is track and monitor your activities, you may think thats a price worth paying.
So is Strava’s route planner worth a look? This guide will walk you through everything you need to know to create, follow, and optimise your biking routes using Strava.

How to use Strava’s route builder
Strava's Route Builder is primarily accessed via the desktop website, offering a more comprehensive interface for detailed planning. While the mobile app has some route features, the desktop version provides the full power (and ease of use) of its mapping tools.
If you’re looking to create an A-to-B route on the Strava App, it’s frustratingly dumb. The app continually wants to create a looped ride, spitting out a variety of options in the local area.

Fine if you’re looking for an hour of exercise, but not so good for when you want to zip across town for a meeting. Point of interest search really isn’t the best either (see image below), so to navigate somewhere new in the app, you’ll need to find the Postcode/Zipcode of your destination, plug that in, before finding your way there.

Anyhow, we digress, let's look at the nuts and bolts of creating a route.
Create a route in Strava
To get started, log into your Strava account on your computer. Hover over the "Maps" tab and select "Create a Route” and you'll be presented with a map interface and a panel on the left for preferences.
-
Set Your Sport and Preferences: Choose your sport. You can also opt for "Most Popular" to leverage the vast Strava heatmap data or "Minimise Elevation" / "Maximise Elevation" if you have a specific climb or flat ride in mind. There's also an option to prefer paved or dirt surfaces, which is incredibly useful for road cyclists avoiding unexpected gravel, or gravel riders seeking it out!
-
Add Waypoints: Start clicking on the map to drop waypoints. Strava will automatically connect these points, using its algorithm to typically follow popular roads and paths. You can drag and drop existing waypoints to adjust the route, or add new ones by clicking on the line between two points. Use the search bar to find specific addresses or landmarks if you know your start or end point.
-
Explore Map Layers: On the left-hand panel, you can toggle various map layers. The Global Heatmap is a powerful tool, showing where other Strava athletes are active, highlighting popular cycling routes or hidden trails. You can also overlay your Personal Heatmap to see your past activity, which is fantastic for recalling forgotten favourite roads.
-
Review Route Details: As you build your route, Strava provides real-time updates on distance, elevation gain, and estimated moving time.
-
Save Your Route: Once you're happy with your route, click "Save Route," give it a descriptive name, and add any relevant notes. You can choose to make it public or private.

Following a route on the Strava app
Once your route is saved, it's easily accessible on the Strava mobile app.
-
Navigate to Routes: On the mobile app, go to the "Maps" tab at the bottom.
-
Select Your Route: Tap on the "Bookmark" icon, typically on the top right. Here you'll find all your saved routes.
-
Start Navigation: Select the route you want to follow, and then tap "Start." The app will display the route on the map. Remember, in most countries, it is illegal to hold and use a phone whilst cycling, so ensure you stay safe and compliant.
Other questions about Strava’s route builder
Does Strava’s route builder work for A to B commuting?
Yes, Strava's Route Builder can certainly be used for A to B commuting, not just loop rides. When you set your start and end points, Strava will calculate the most efficient or popular path between them based on your preferences. Much like how Google Maps uses its data to create a route. As ever, it’s always good to double-check any suggested routes for busy roads or unexpected detours, especially if you're exploring new areas.

What is Manual Mode in Strava maps?
"Manual Mode" in Strava's route builder gives you precise control over your route. Instead of Strava automatically snapping your line to roads or trails, Manual Mode allows you to draw a direct line between two points, regardless of existing pathways. This is particularly useful for off-road segments where no clear path exists, or for correcting a small section of a route that Strava's automatic routing might have misinterpreted. It essentially turns off the "smart" routing, letting you dictate every turn.
Does Strava have turn-by-turn navigation?
While the Strava app itself will display your route on the map and show your current location on it, it does not provide true turn-by-turn navigation with explicit prompts like "Turn left in 200 meters." The Strava App shows you the line to follow, and you're responsible for staying on it by looking at the map.

Does Strava have voice navigation?
Similar to turn-by-turn visual prompts, the Strava app does not offer voice navigation for routes. It can provide "Audio Announcements" for things like segment performance or split times during a run, but it won't give you spoken directions like "Turn right at the next junction." If voice navigation is a crucial feature for you, especially for hands-free guidance while cycling, you would need to use a different navigation app that integrates with Strava or allows you to import Strava-created routes.

Does Strava kill battery life?
Like any app that heavily relies on GPS, screen usage, and continuous data processing, Strava can significantly drain your phone's battery life, especially during long activities.
Disable unnecessary background apps and notifications. Turn off Wi-Fi and Bluetooth if you're not using external sensors. Reduce screen brightness. Consider using "Airplane Mode" if you don't need cellular data or calls during your activity (be aware this will disable features like Strava Beacon and Live Segments) and ensure your phone's operating system is up to date.
You can find more detailed tips on how to save phone battery when navigating by bike in our dedicated article.

Our favourite tips when using Strava Route Builder
Use ‘My Heatmaps’ to find a favourite road you’ve long since forgotten
We've all been there – a fantastic stretch of road you rode months or years ago, but you can't quite remember the exact turns. This is where your Personal Heatmap in the Strava Route Builder becomes invaluable. By toggling it on, you'll see a visual representation of all your past activities. Those glowing lines will jog your memory, allowing you to easily identify and incorporate those forgotten gems into a new route.
Find ‘Commute’ rides by using Strava on desktop
While the mobile app is great for quick navigation, the desktop version of Strava offers more robust filtering and analysis tools. If you're looking to re-ride a commute or analyse past commuter behaviour, you can specifically filter your activities by "Commute" type on the desktop site. This can provide insights into your typical routes and highlight areas where you might want to create a new, optimised commute. Hit “Training” then “My Activities” and under “Keywords” you’ll find a “Commute” tickbox. This assumes that you’ve tagged previous commuting rides as such!

The estimated moving time is based on your 4-week average
When Strava calculates the "estimated moving time" for your planned route, it's not a generic guess. It's a personalised estimate based on your average moving speed over your last four weeks of activity for that specific sport. This means the more you use Strava and the more consistently you log your activities, the more accurate these time estimates will become, helping you better manage the duration of your rides.

Is Strava's route planner any good?
Strava’s route builder is a solid option for most cyclists. For fitness rides, leisure rides, complex, multi-day tours or highly specific off-road adventures, Strava’s route creation tool is probably the best application out there.
Its strengths lie in:
-
Heatmaps: The Global and Personal Heatmaps are the feather in Strava’s cap. Discovering popular routes and understanding the best local riding routes are a massive advantage over more the more generic mapping services.
-
Ease of Use: For most typical routes, the drag-and-drop (or tap-and-drag) interface is intuitive and efficient.
-
Integration with the Strava Ecosystem: Seamlessly saving and following routes within the Strava app does have its benefits.
However, Strava’s route builder is not without its limitations, especially if you’re a rider who uses your bike to get from A to B. The app's in-route navigation isn’t the best either.


Leave a comment