Alphabet, Google's parent company, plays a significant role in most of our digital lives, and one of its most influential products is Google Maps.
Google Maps is widely considered one of the most accessible and user-friendly mapping tools available, and it's free. With over 1 billion active users each month, it's clearly doing something right. But is it suitable for getting directions for biking?
Google Maps has included biking directions since 2010, and after major updates in 2012, 2020 and 2022, it has become a great tool for navigating by bike.
So, how do you use Google Maps to find directions for biking? Here, we'll explain just that and provide some tips along the way.

1. This is how you show a cycling route on Google Maps.
Enter a destination, hit ‘Directions’ and Google Maps defaults to taking a specific route by car. Want to see how to ride it? Under the main header including your Start and Finish locations spot the cyclist icon which is appended with an estimated time that the ride will take.

2. Want to see bike paths on Google Maps? This is how.
You can see bike paths on Google Maps by opening the app, clicking on the layer button (that’s the one that looks like a diamond) and selecting the "Cycling" or “Biking” layer - the terminology will vary depending on which country you are in when running the app. For example, it’s “Cycling” in the UK and “Biking” in the US.

If you’re looking for this setting on a larger device, you’ll find layers in the bottom left-hand corner of the screen. Hover over that section and out pops the various layer options.
3. This is the Google Maps cycling map legend
Now here’s the thing, what is and what isn’t a bike path varies wildly from country to country. But Google being Google has thought of that!

Once you’ve loaded up bike paths, Google Maps offers users like you further clarification on the exact type of bike path something is. Whilst there’s no substitute for riding the route, the four different route types should help you decide whether it’s suitable for your route. Here’s Google on the exact terminology for each of the surfaces:
Dark green: Trails that don't have auto traffic.
Green: Dedicated lanes are roads that are shared with cars and have a separate bike lane.
Dotted green line: Bicycle-friendly roads are roads that don't have a bike lane but are recommended for cyclists.
Brown: Unpaved trails are off-road dirt paths.

4. Load up directions to see route elevation
As any seasoned cyclist will tell you it's not just how far you ride but how hilly a given route is. Again, Google comes to your rescue.

Once you’ve got a route set in the app, hit ‘Directions’ and you’re presented with a route. Tap the “More info’ button and a simple elevation graphic appears. In our experience, Google more often than not, describes the route. For example “Mostly Flat” or “Moderate Hill” should help you decide on a route.
For riders desperate for more information, Google also calculates how much ascent (riding uphill) and descent (going downhill) a particular route is.
5. Use the terrain layer to avoid (or seek out hills)
As we’ve already suggested, Google Maps bike directions aren’t always perfect. So our fifth tip is something we’d suggest if you want to avoid or even seek out hills along your route.
Go back to the “Layers” button on the app's main screen - it’s the diamond-shaped button for those not following along earlier. Under Map Type, hit terrain. The darker green the map appears, the hillier that area is. This feature is great when you’re customising a route created in the first instance by Google Maps. This isn’t the easiest thing to do on the app, better to do it on a large-screen device.
6. Google Maps uses a standard cycling speed of 10mph
10mph, that’s the speed Google Maps uses to calculate how long riding a route by bike could take. Once you know this and you know how fast you usually ride a bike, it should help you plan your journey by bike more effectively.
In what can only be described as a rather canny move, electric bike manufacturer Gazelle recently wrote an open letter to Google suggesting an increase in the average speed. They've got a point! Even a new cyclist wouldn't have trouble riding reaching 10mph (16kph) on an e-bike.

7. Google Maps (most of the time) tells you when a bike route includes stairs
Stairs aren’t the friend of any cyclist. Again Google Maps comes to our aid with a simple graphical warning when you create a route which may involve lifting your bike and negotiating some steps.
8. Use Immersive View, Streetview and satellite to help create a good route
In our experience relying on Google’s Dotted Green Line (that’s bike-friendly routes but without a dedicated cycle lane) can be fraught with danger. Some of these are fantastic (the National Cycle Routes (NCRs) in the UK have been assigned this type by Google) and yet some leave a lot to be desired.
So, here’s our last piece of advice when creating a bike route in Google Maps - use Immersive View, Streetview and satellite view to help you finesse your route.
Immersive view delivers a flyby 3D model of your chosen route, showing you helpful pointers along the way. We’ve found this is really useful when riding in unfamiliar, busy places with lots of lanes, junctions and intersections.
For now, Immersive View is only available in the following cities. Amsterdam, Barcelona, Dublin, Florence, Las Vegas, London, Los Angeles, Miami, New York, Paris, San Francisco, San Jose, Seattle, Tokyo, and Venice.

Immersive view is great but Streetview still holds sway in our world. There’s nothing like a still photo of a point in time to give you a flavour of a point along your route. The easiest way to access Streetview is to do it using the turn-by-turn instructions that appear once you create a route in the app. Next to each direction, there’s a thumbnail image of the street view of that particular point.
Whilst these two features will only give you a snapshot in time they may help you rule out a route for being too filled with traffic or beset by other woes like poor road surfaces or narrow lanes.
And one final piece of advice from us, there’s no substitute for actually riding a route, and perhaps more importantly riding it at different times of the day. Doing it for yourself will allow you to tweak, adjust and adapt a route to suit you and your riding needs. Oh and be sure to make a note of the laws surrounding cycling and phone use.
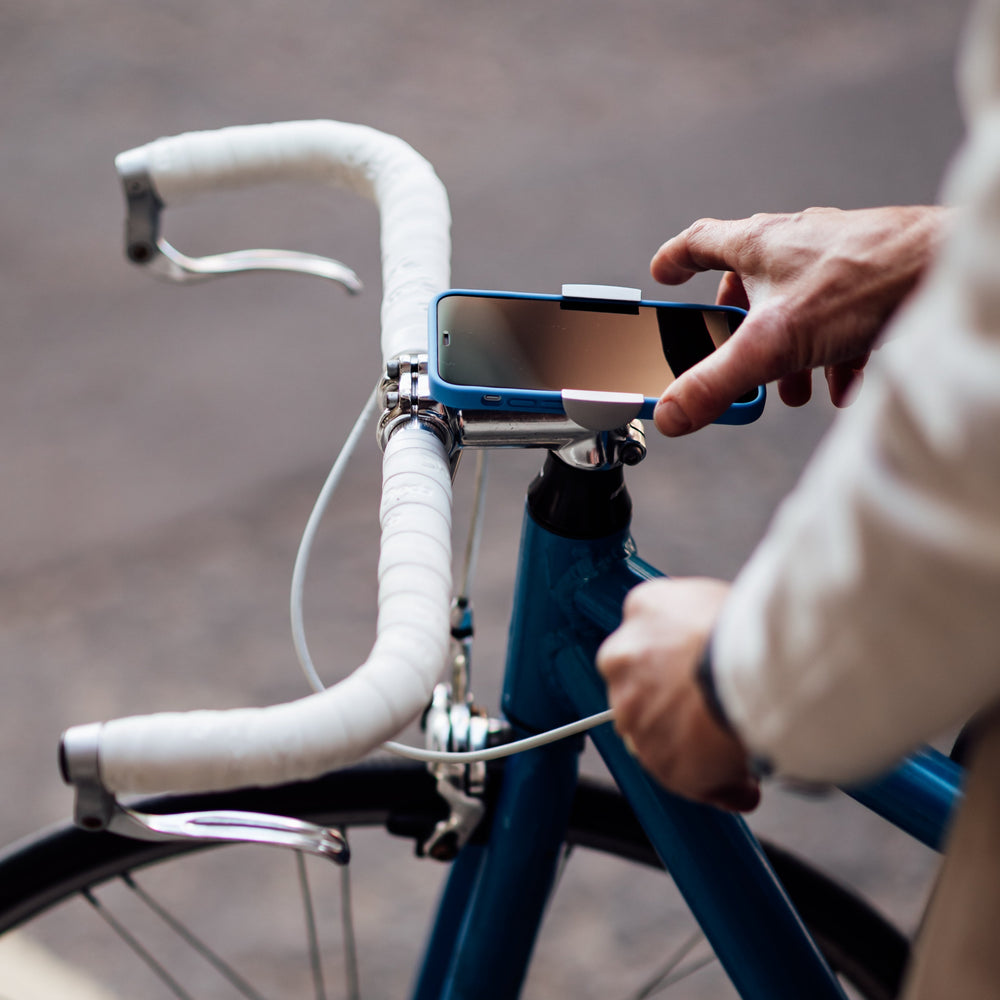
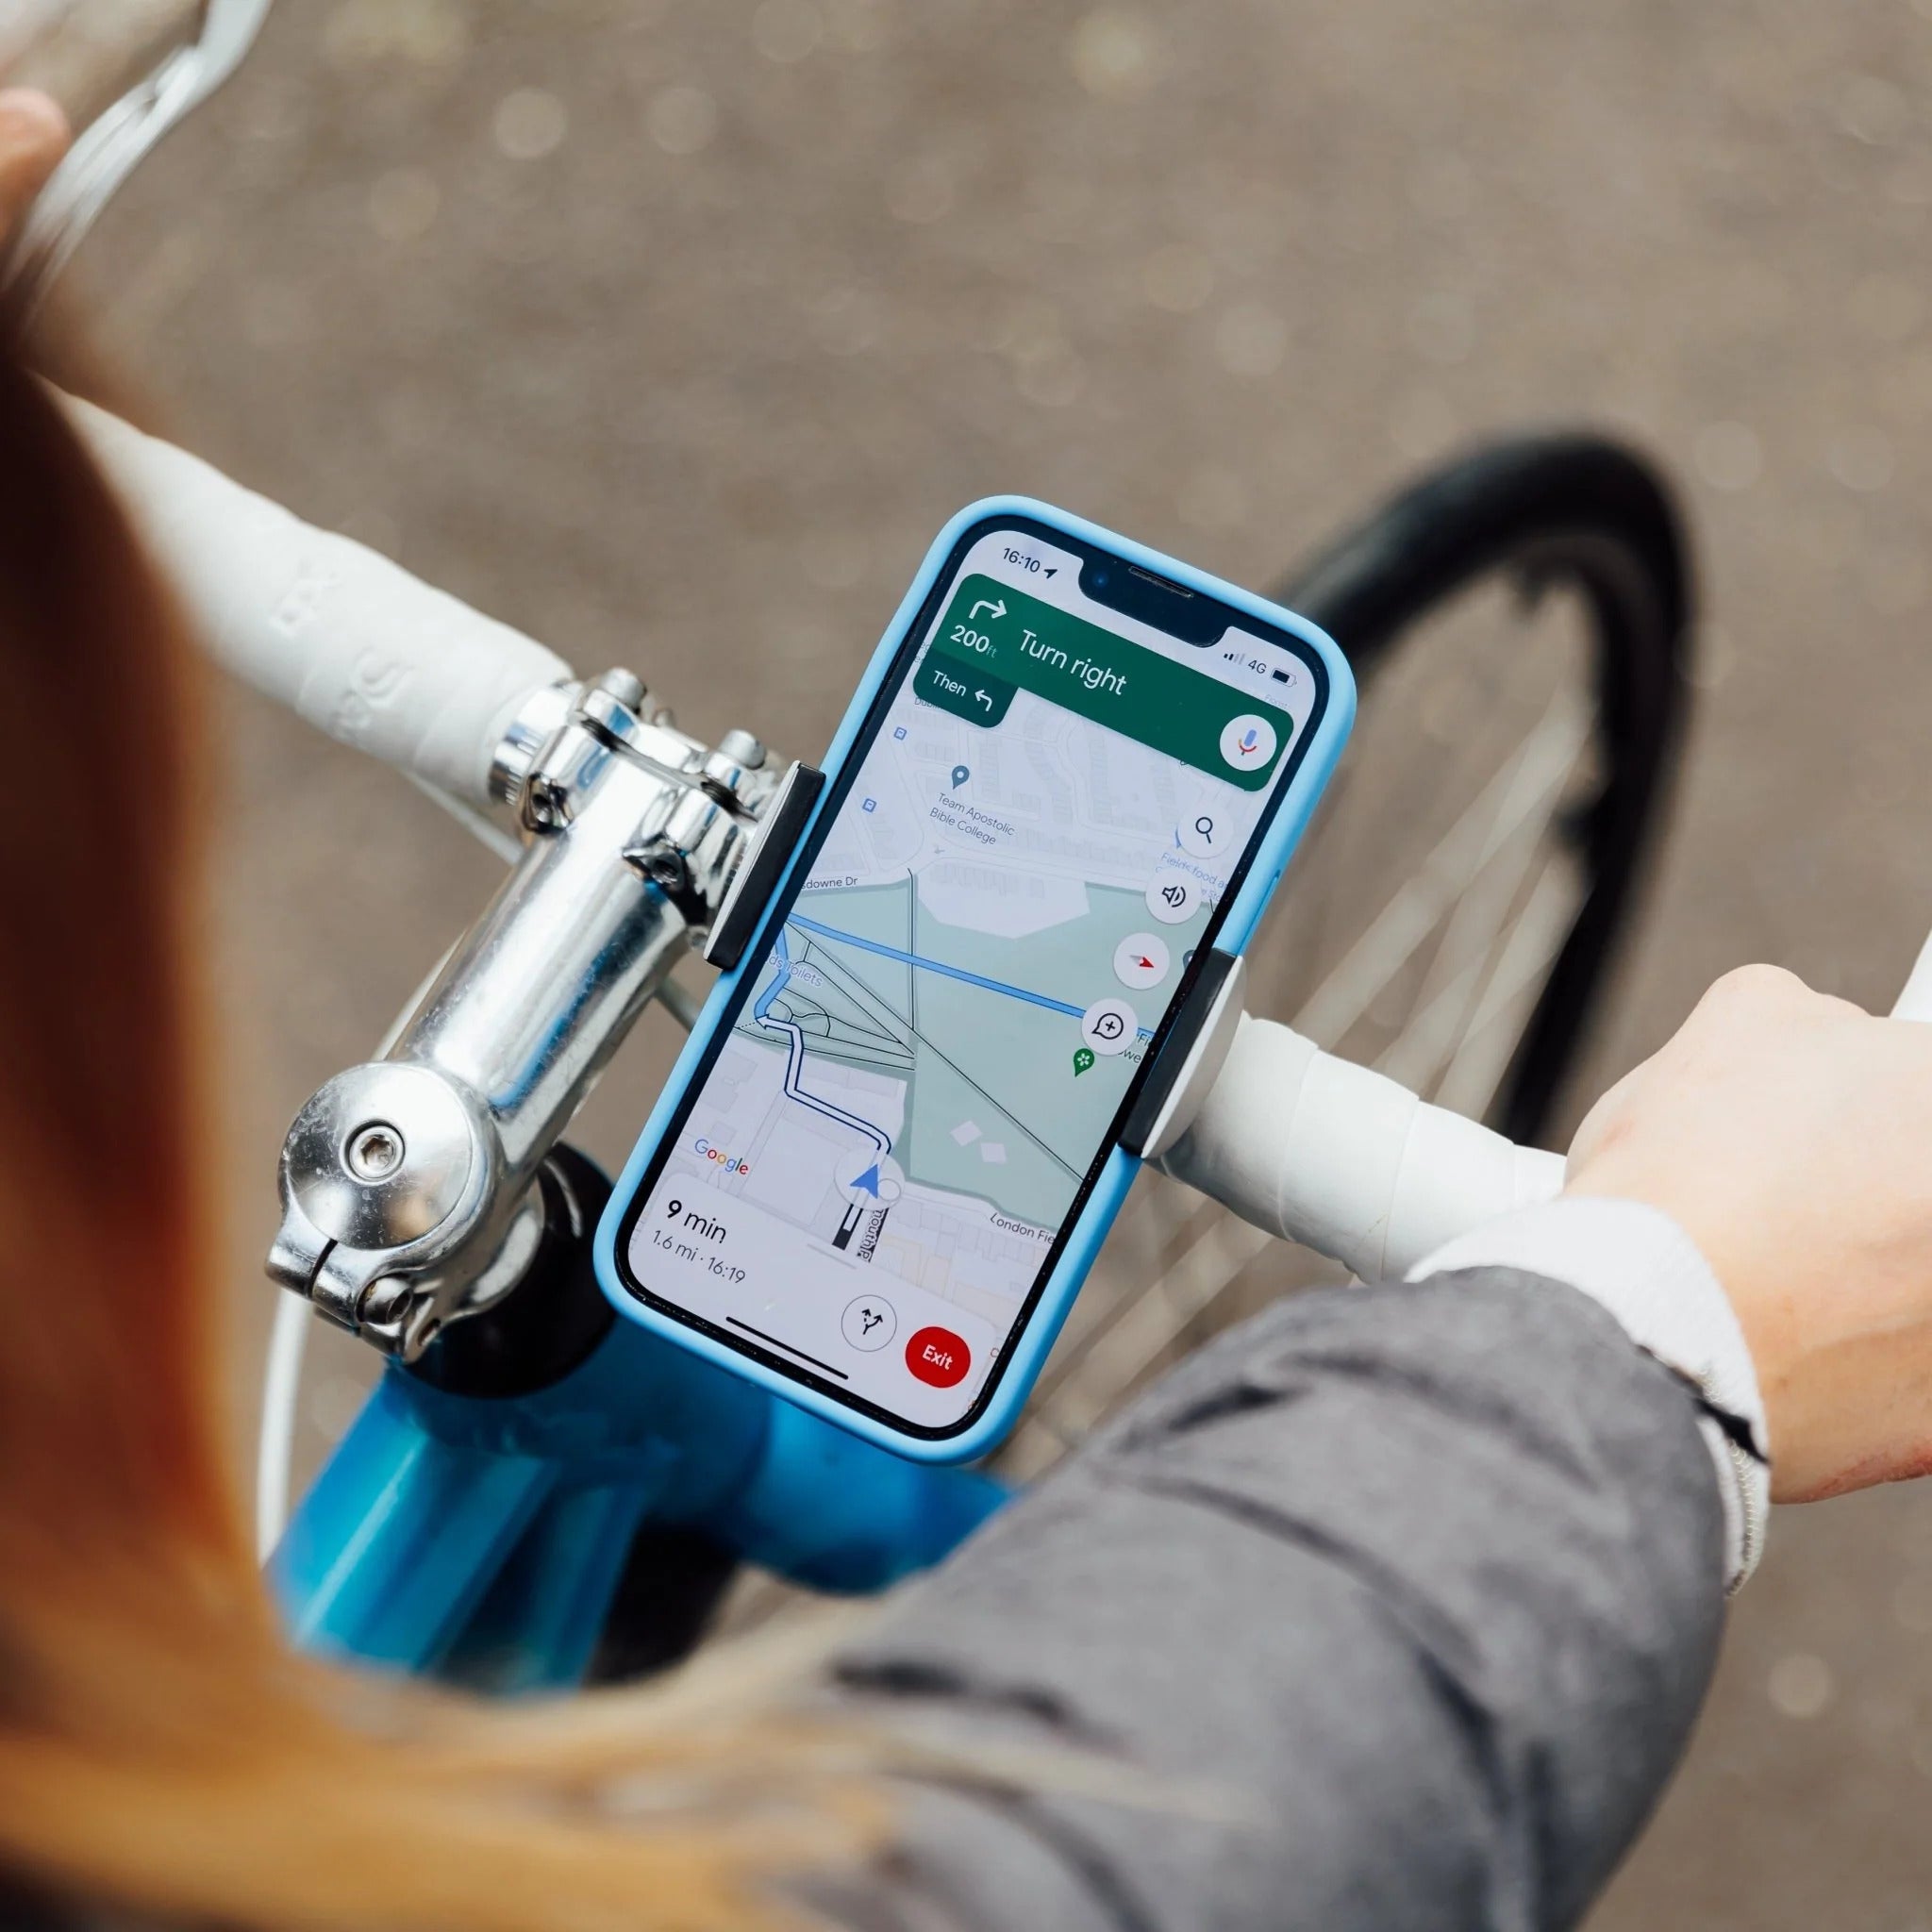
Whether you choose Google Maps as your bike navigation app of choice or you’re a Strava Stalwart, choose a Loop bike phone mount to keep your device safe and visible during your ride.


Leave a comment